
Article: 🔭 How to Choose the Right Telescope for Your Needs: A Beginner’s Buying Guide
🔭 How to Choose the Right Telescope for Your Needs: A Beginner’s Buying Guide
🔭 How to Choose the Right Telescope for Your Needs: A Beginner’s Buying Guide
Whether you're shopping for your first telescope or upgrading from a basic model, one thing is clear — the world of astronomy gear can feel overwhelming. From technical specs like aperture and focal length to deciding between refractors and reflectors, there’s a lot to take in.
At On Point Optics, we’re here to make it easy. This beginner’s guide will walk you through the key features to look for, explain different types of telescopes, and help you pick the perfect model for your needs — without the jargon.
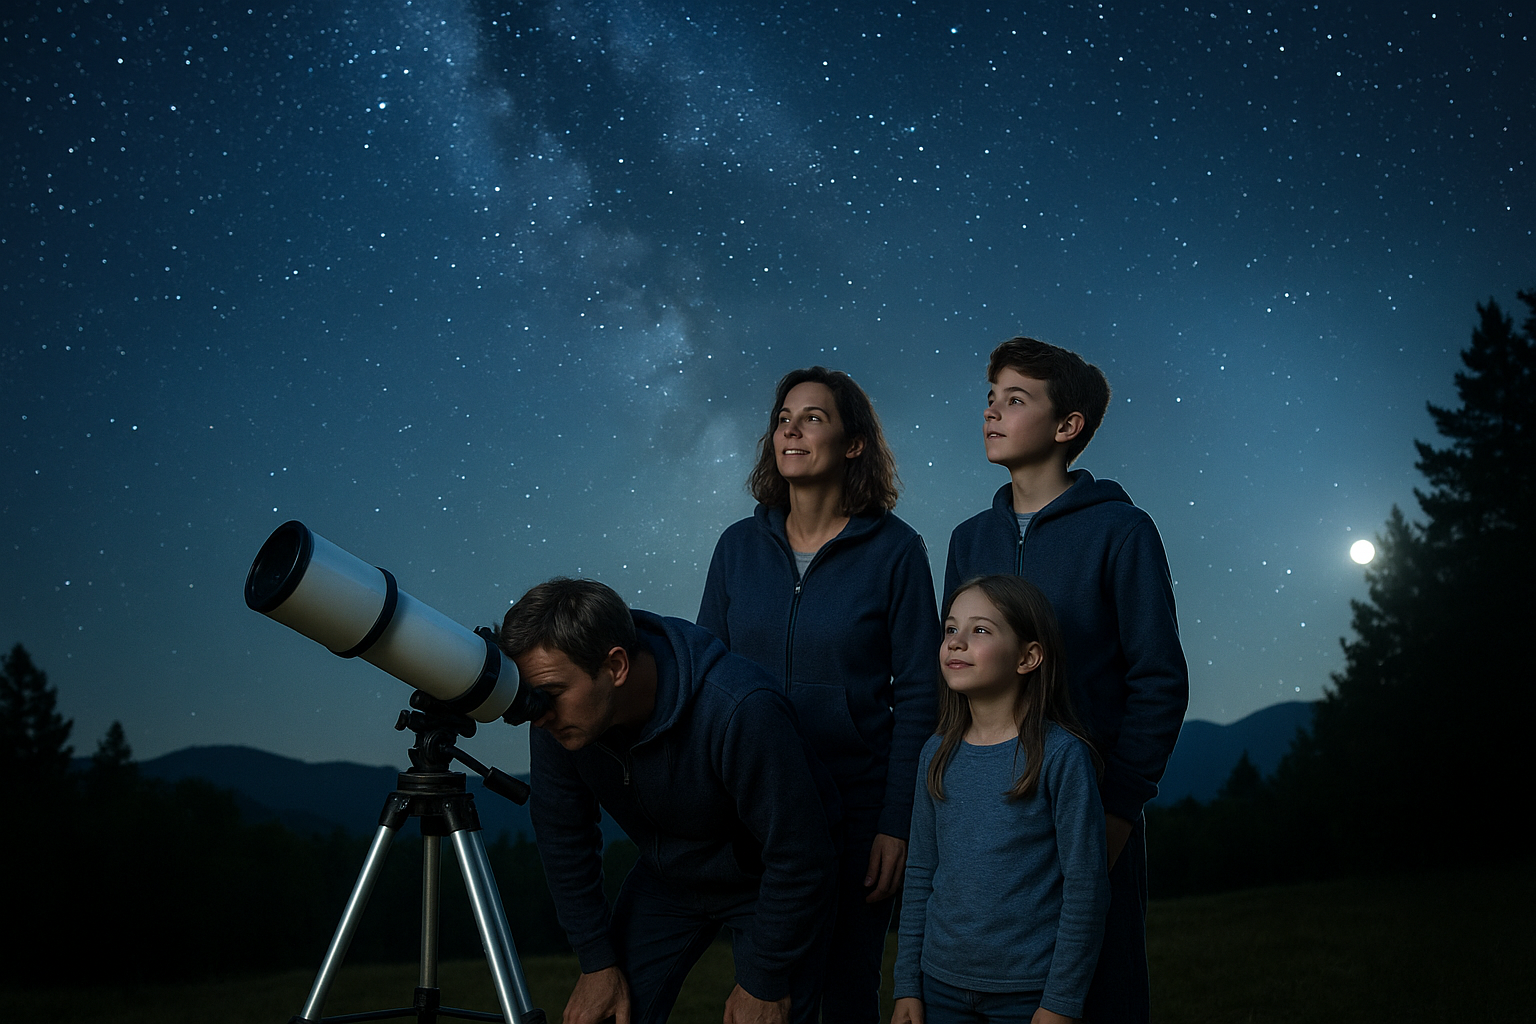
Whether you’re interested in backyard stargazing, astrophotography, or gifting a telescope to a curious kid, this guide is for you.
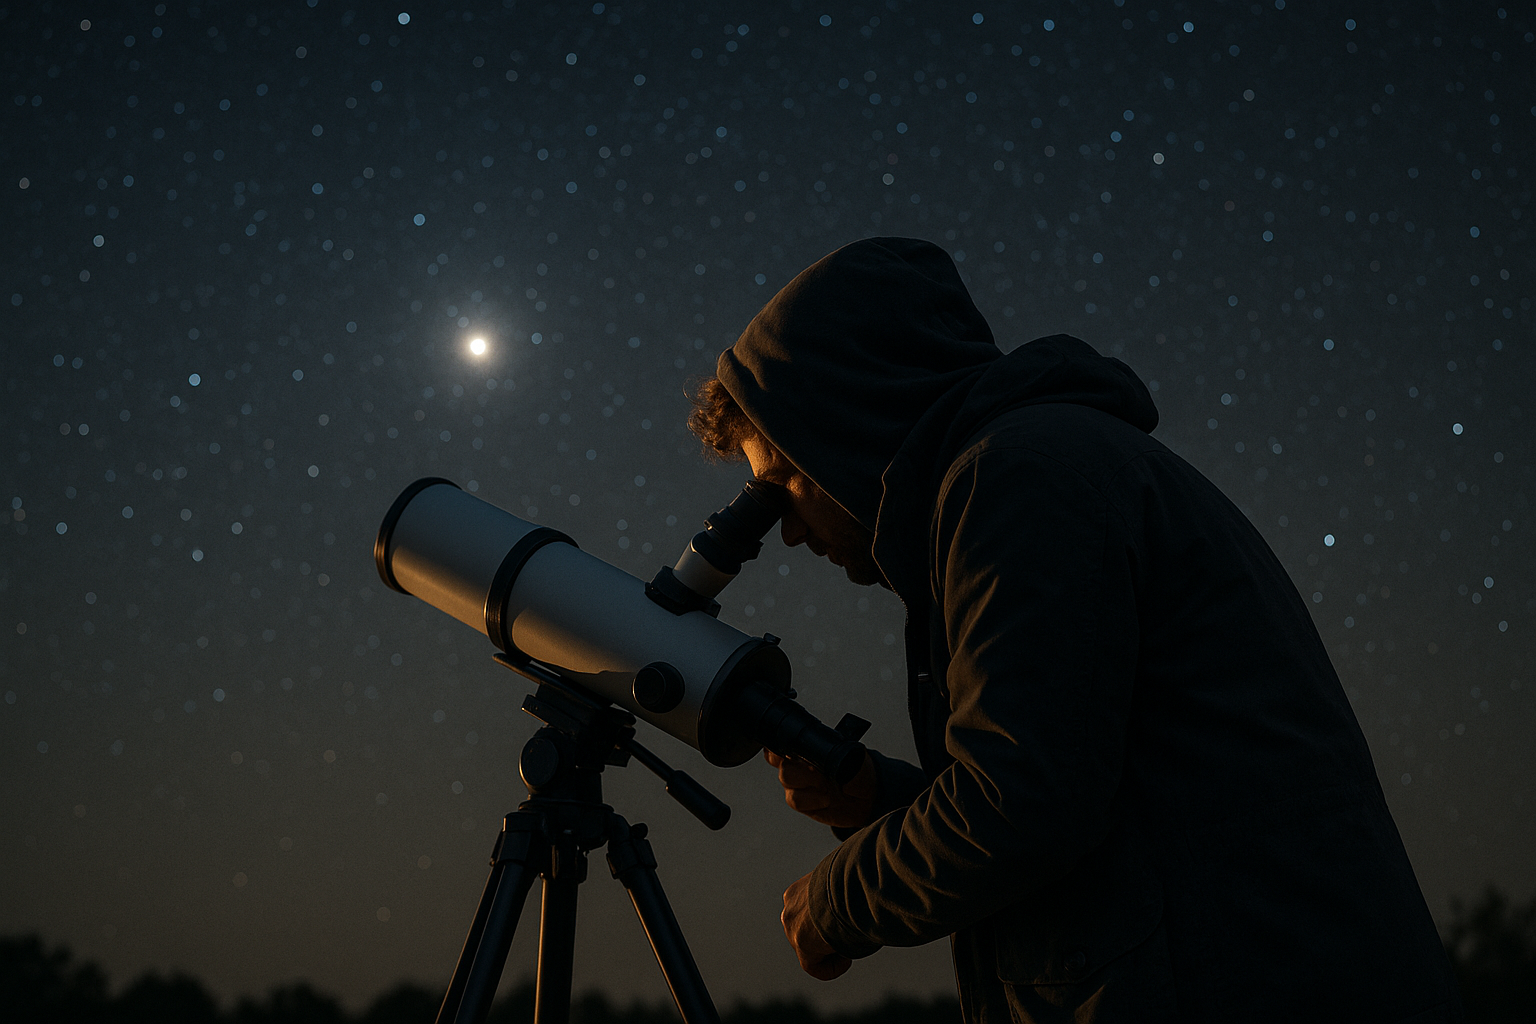
🌟 Step 1: Know What You Want to See
Before choosing a telescope, ask yourself: What do I want to observe?
Each use case calls for different features. Here’s a breakdown:
| Observation Goal | Ideal Features |
|---|---|
| Moon & Planets | Smaller aperture is fine, prioritize sharp optics |
| Galaxies, Nebulae, Deep-Sky | Larger aperture for better light gathering |
| Astrophotography | Equatorial or GoTo mount, DSLR compatibility |
| Terrestrial (land/wildlife) | Refractor telescope, lower magnification |
| Kids & STEM Education | Simple setup, durable design, easy-to-use mount |
🔍 Step 2: Understand the Key Specs
Here are the terms you’ll see often — and what they actually mean for your experience.
📏 Aperture (The Most Important Spec)
-
This is the diameter of the main lens or mirror (in mm or inches).
-
A larger aperture gathers more light, showing fainter and more detailed objects.
-
Good to know: An 80mm telescope is great for beginners. A 130mm+ opens the door to deep-sky wonders.
🔭 Focal Length & Focal Ratio
-
Focal Length = distance light travels inside the telescope. Longer means more magnification.
-
Focal Ratio (f/number) = focal length ÷ aperture. Lower f-ratios (like f/5) are better for wide-field viewing and astrophotography, while higher f-ratios (like f/10) are best for planetary detail.
🔁 Magnification
-
Determined by your eyepiece. Most telescopes come with 1–2 to start.
-
Pro Tip: You can change magnification by swapping eyepieces — not the telescope itself.
🧭 Mount Type
This affects how you aim and follow objects in the sky:
-
Alt-Azimuth (AZ): Up-down/left-right. Intuitive for beginners.
-
Equatorial (EQ): Tracks Earth’s rotation. Ideal for longer observing sessions or photography.
-
GoTo (motorized): Auto-finds and tracks stars using a computerized database. Great for beginners with limited sky knowledge.
🔭 Step 3: Choose Your Telescope Type
Each design has strengths. Here’s a breakdown to help you decide:
🔹 Refractor Telescopes
-
Use glass lenses to bend light.
-
Crisp, high-contrast images — especially for the Moon and planets.
-
Best for: Beginners, families, grab-and-go viewing
-
Pros: Low maintenance, closed tube (less dust), easy setup
🔹 Reflector Telescopes
-
Use mirrors to reflect and focus light.
-
Most budget-friendly way to get a large aperture.
-
Best for: Deep-sky viewing, value seekers
-
Pros: Bigger aperture per dollar, excellent light gathering
-
Consider: Needs occasional mirror alignment (collimation)
🔹 Compound (Catadioptric) Telescopes
-
Combine lenses and mirrors in a compact tube.
-
Versatile, great for all types of viewing and astrophotography.
-
Best for: All-purpose users, space-conscious buyers
-
Pros: Sealed optics, high portability, camera-friendly
🏕 Step 4: Consider Portability and Storage
Ask yourself:
-
Will you take it camping or traveling?
-
Do you need it to fit in a closet?
-
How much setup time is too much?
Smaller refractors are great for travel and quick setups. Large Dobsonian reflectors offer amazing views but require more space and commitment.
📸 Step 5: Astrophotography – Start Simple or Go All In
Interested in capturing the cosmos?
Here’s what you’ll need:
-
A scope with DSLR or smartphone adapter compatibility
-
A tracking or GoTo mount to follow objects smoothly
-
Wide aperture and fast f-ratio for better light capture
Some beginner-friendly scopes now include smartphone mounts — perfect for Instagram-worthy Moon shots!
🔧 Step 6: Don’t Forget Accessories
The right accessories take your experience to the next level:
-
Extra eyepieces for different zoom levels
-
Barlow lenses to double your magnification
-
Filters to enhance contrast and reduce glare
-
Star maps or astronomy apps for navigation
-
Carrying cases for travel protection
👉 Shop Accessories at On Point Optics →
💡 Our Advice: Don’t Overspend at the Start
Start with a model that fits your lifestyle. Many first-time buyers are tempted by complex setups — but simple, quality gear often provides the most joy. You can always upgrade as your interest grows.
Our bestsellers strike the balance between performance, ease of use, and price.
🛒 Why Buy from On Point Optics?
We’re not a big-box store. We’re a specialty optics retailer built for outdoor enthusiasts, hobbyists, and explorers just like you.
Here’s what makes us different:
-
✅ Expert-selected telescopes — no junk, just gear we’d use ourselves
-
✅ Fast shipping from U.S. warehouses
-
✅ Friendly support and beginner guidance
-
✅ Educational blogs, guides, and tips — all free
-
✅ Hassle-free returns and secure checkout
✨ Final Thoughts
A telescope isn't just a gadget — it’s a gateway to wonder. With just a little guidance, anyone can choose the right telescope and begin exploring the universe from their own backyard.
At On Point Optics, we make sure you're not just buying a telescope — you're investing in an experience.
🚀 Ready to Get Started?
🎯 Browse our Telescope Selection
📸 Want to capture the stars? Explore Astrophotography Gear
🛠 Still not sure? Contact Our Experts